Starting an Indoor Garden
Year-round gardening without a greenhouse? Check out our latest project!
We were gifted an AeroGarden and are so excited to try out this indoor garden option. Deciding where to put it was the most difficult part of the whole process. Once we settled on a location, we assembled the base. It was so easy to assemble that we really didn't even need to read the directions.

This blog post contains affiliate links. Purchasing through these links is optional and helps support our blog at no cost to you. Thank you for your support!
After assembling the base, the next step was to fill the basin to the fill line and add the amount of fertilizer indicated on the chart.
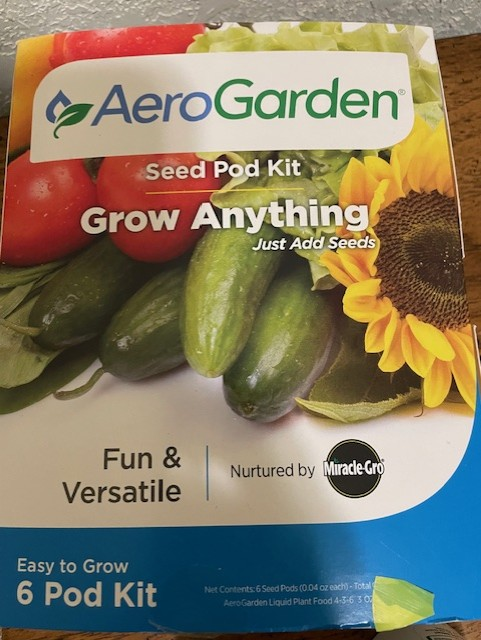
Our gift included a box of Heirloom Cherry Tomato Pods and a a box of Grow Anything Pods in which you plant your own seeds. Both boxes came with pods, plant fertilizer, and fertilizer measuring cup. The Grow Anything Kit also came with a set of grow domes, which are small plastic covers that act like a miniature greenhouse to help keep in moisture and warmth until the seeds sprout. Our box of tomatoes did not include grow domes; however, most of those listed on Amazon do include them.

Our AeroGarden has room for nine pods, so we planted four of the tomato pods and used five of the empty pods to plant herbs - one each of basil, cilantro, and parsley and two of lettuce. We checked online to find the cost of purchasing more plant-your-own pods for future use. The name brand can be quite a bit more expensive than generic brands. If you are looking for more affordable pods, these are a much better price per pod and occasionally go on sale for an even better price.
The tomato pods were super simple. We removed the pods from the box and placed them into the openings in the AeroGarden. That was all we needed to do - they were ready to go!
The first step for the Grow Anything pods was to prepare the pod cover, which doubles as a label. We wrote what we were going to plant on the label. Next, we removed the sticker and placed it on top of the grow tube. The directions then said to use an iron to affix the label (this worked out well because we were setting it up in the sewing room so the iron was easily accessible). I must admit that the labels were sticky already, so I don't know that the extra step of ironing was absolutely necessary, but we wanted to be sure to follow the instructions, especially the first time around.
 |
| A labeled pod with the grow sponge inserted |
The instructions recommended planting several seeds per pod, so we put about 4 seeds in each of the grow sponges except the cilantro. Since cilantro is a larger seed, we only inserted three seeds into the grow sponge.
 |
| An empty grow sponge waiting to be filled |
While the instruction pamphlet suggested not planting fruiting plants and herbs together, we did anyway. We were so excited at the possibility of having an indoor garden that we wanted to try several items at a time. Besides, we didn't have any covers for the empty spots, so we thought we may as well fill them all.
Once we had the seeds in the inserts, we placed the inserts in the remaining holes, turned on the AeroGarden and followed the display instructions to program it for what we had planted. Once programmed, the lights came on and it was ready to go!
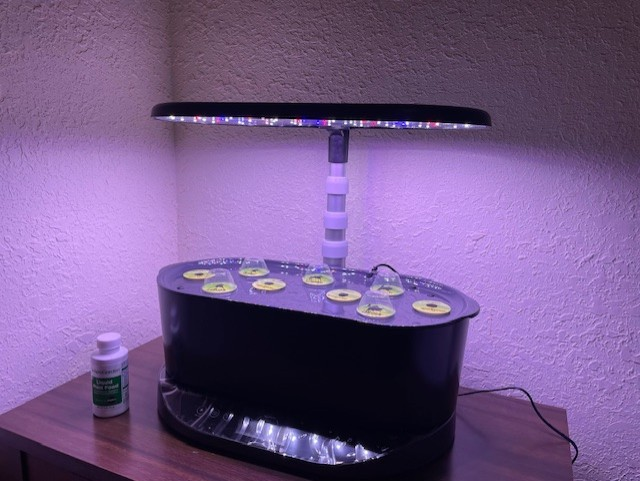 |
| The AeroGarden all set up with the grow lights on |


Comments
Post a Comment